Red Velvet Cake & Natural Dyeing
I LOVE Red Velvet Cake!!! Well, truth be told, I LOVE Red Velvet, be it cake or cheesecake or donuts or pancakes or hot chocolate! I have a Pinterest Board just for Red Velvet. So many recipes, so little time . . .
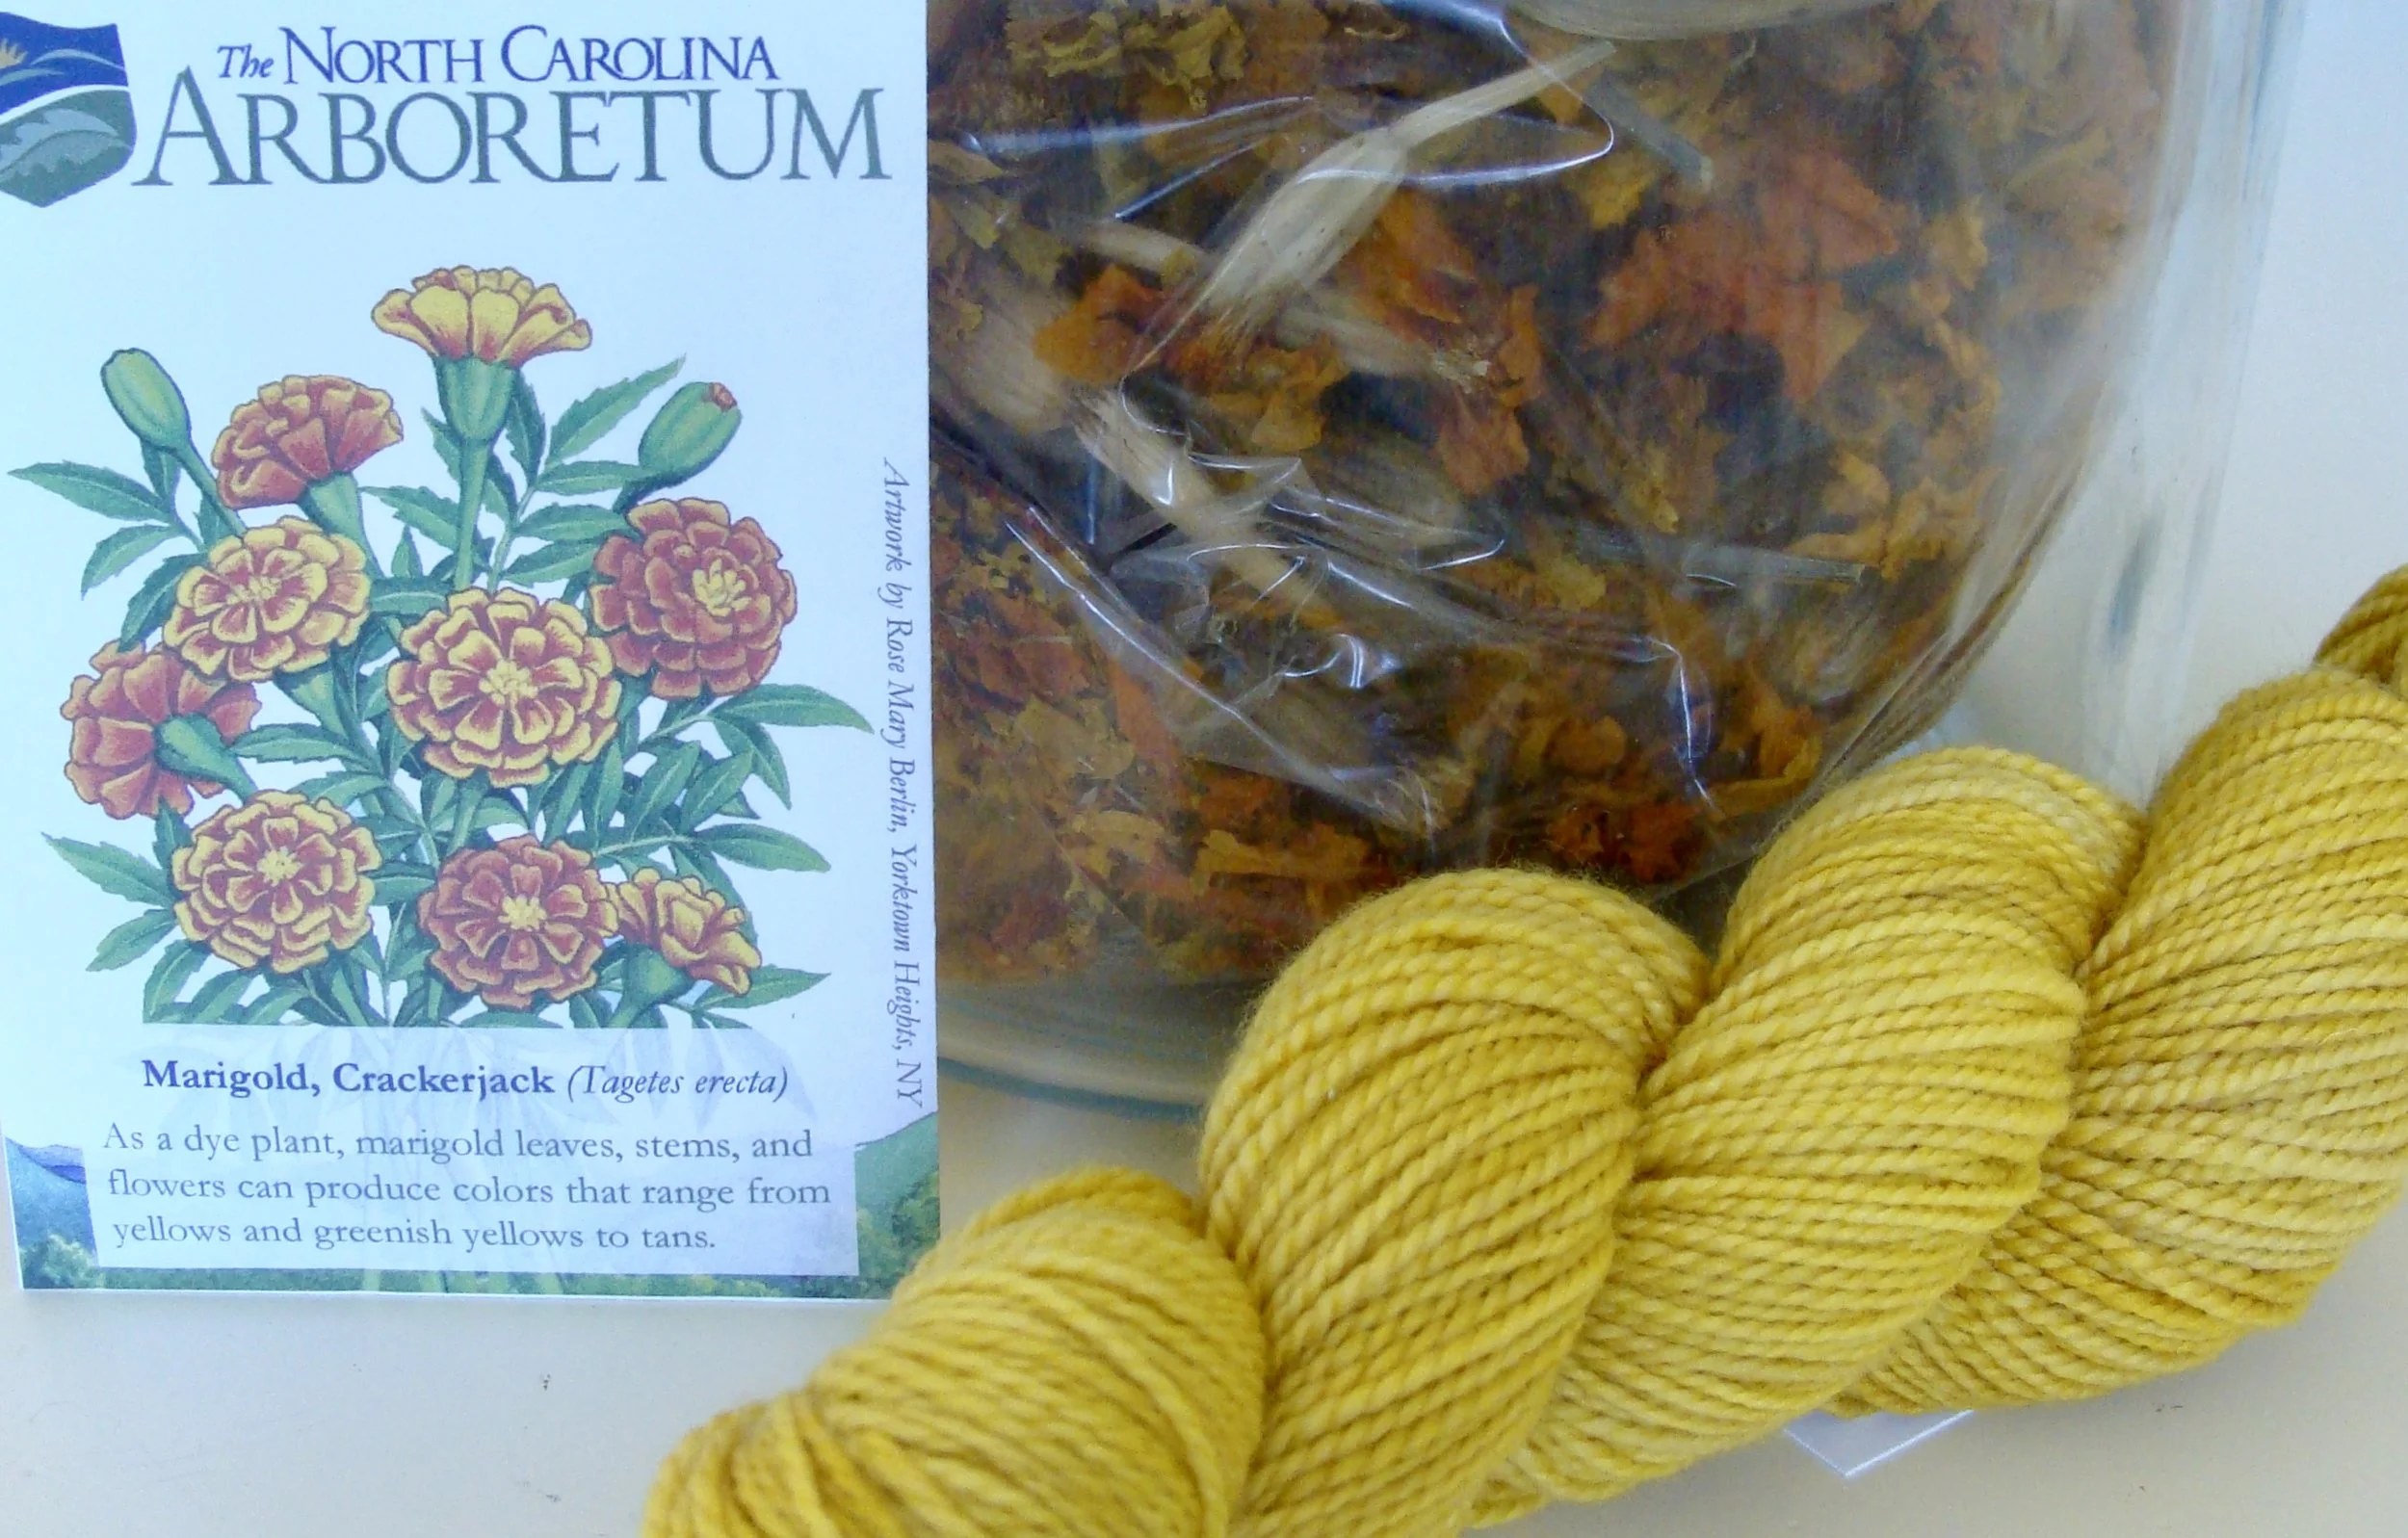
Ok, you get I love Red Velvet, but what does that have to do with Natural Dyeing? The natural dyeing process is very much like cooking or baking. You measure ingredients, mix them with water, and then add a heat source for a specified amount of time. Even the basic equipment really is the same type of utensils you'd find in your kitchen.
But, with so many choices out there, how do I go about finding my favorite Red Velvet recipes?
- A good place to start is with a recommendation from a trusted source or, better yet, someone served it to me and it was sooooo good. Grab that recipe!
- In looking at the list of ingredients, do I have them on hand, and if not, are the one or two I'm missing sold at the local grocery store? Bump recipes calling for an exotic ingredient that can only be purchased at one remote village in India.
- Can I use the equipment and utensils in my kitchen? Not interested in buying the specialty pan for $120 that I will only use on this one recipe.
- Does the recipe have any new techniques and if so, are they easy to learn? Although it might be really cool to go to French pastry school, I don't see that in my current short or long term plans.
- Did it work? Was it finicky? If it's critical to success to hold at a temperature of 176 degrees, never wavering to 175 or 177, I'm probably not going to like it; mostly because my detail oriented, competitive, driven self will really, really try to do it! Not fun!
- Finally, did I like the result? Was it good? Better yet, was it to die for? (or in relation to this post, to dye for?)
I have been dabbling with natural dyeing, but I really haven't gotten into it the way I thought I would. I pondered why that was the case. My conclusion, I was overwhelmed by the number of techniques, books, articles, experts, writers, speakers, etc. out there. Just like there are so many recipes for Red Velvet, likewise there are so many recipes for Natural Dyeing.
I was having a hard time deciding on what was the best method. My indecision lead to inertia and, honestly, a lack of enthusiasm for the whole process. Then, I had a lightbulb moment. Why not approach natural dyeing as I would any baking or cooking recipe?
Extracting Cochineal (red)
If you've been with me since the beginnings of this website or you've read my 'About' page, you know that my purpose with Flora & Fiber is to:
offer a simple, fun approach to preserving and creating handcrafted traditions. My desire is to provide inspiration, education, and products that spark others to pursue their own creative passions.
That is just what I'm going to do with Natural Dyeing. I'm going to sift (pun intended) through all that information I've discovered and then offer my recommendations based on the criteria I would for any recipe. It has to be simple, it has to be fun, and the end result is to dye for! What I learn, do, and create, I'll share with you!
I just completed a natural dyeing workshop for my Guild members on Saturday and I have several more workshops coming up in a few weeks. That means I am in dyeing mode. So stayed tuned.
If you just can't wait, I'll remind you about a class I have on Skillshare, "Natural Dyeing as Easy as Tea". If you're interested in finding out more about this class, see my February 15 post "Natural Dyeing Class".
It would be so unfair to do all this talking about Red Velvet and not share one of my favorite recipes. I've made it a number of times and can definitely say it's to die for!!!!!
Red Velvet Cheesecake-Southern Living
Red Velvet Cheesecake
(Southern Living, 2004)
Ingredients
1 1/2 cup chocolate graham cracker crumbs* 2 tsp vanilla extract
1/4 cup butter, melted 1 tsp distilled white vinegar
1 TBSP granulated sugar 2 (1 oz) bottles red food coloring
3 (8 oz) pack cream cheese, softened 1 (3 oz) pack cream cheese, soft
1 1/2 cup granulated sugar 1/4 cup butter, softened
4 large eggs, lightly beaten 2 cups powdered sugar
3 TBSP unsweetened cocoa 1 tsp vanilla extract
1 cup sour cream
1/2 cup buttermilk
* I use chocolate teddy grahams, place them in a ziplock bag, and crush with a rolling pin.
Preparation
Stir together graham cracker crumbs, melted butter, and 1 tablespoon granulated sugar; press mixture into bottom of a 9 inch springform pan.
Beat 3 (8 ounce) packages cream cheese and 1 1/2 cups granulated sugar at medium-low speed with an electric mixer 1 minute. Add eggs and next 6 ingredients, mixing on low speed just until fully combined. Pour batter into prepared crust.
Bake at 325 degrees for 10 minutes; reduce heat to 300 degrees, and bake for 1 hour and 15 minutes or until center is firm. Turn oven off. Let cheesecake stand in oven 30 minutes. Remove cheesecake from oven; cool in pan on a wire rack 30 minutes. Cover and chill 8 hours.
Beat 1 (3 ounce) package cream cheese and 1/4 cup butter at medium speed with an electric mixer until smooth; gradually add powdered sugar and vanilla, beating until smooth. Spread evenly over top of cheesecake. Remove sides of springform pan.
Enjoy!!!!!


