The Magic in a Warp
This project is wholly inspired by Jane Stafford and her incredible sense of color, approach to design, and ability to teach! For those who are not familiar with Jane, she is a true modern day weaving guru who has been sharing her knowledge and skill for 40 years. In her words:
We strive to inspire weavers to design and create the best possible cloth they can – to care about graphic, colour, hand, and drape – from beginners wondering where on earth to start, to experienced production weavers searching for new horizons. - Jane Stafford website
In 2017, Jane started a subscription online guild. Members receive ten “meetings” (episodes) a year that include 1½ to 3 hours of streaming videos and accompanying PDFs. In addition, members have access to a library of all the prior seasons’ episodes. Here’s a brief description of the first three seasons:
Year 1 are the Weaving Foundation Videos: Making a Good Warp, Dressing a Loom, learning about yarns and sett, etc. Year 2 is a comprehensive Colour & Design Workshop where you learn basic design and colour theory and Year 3 (2019), is the full workshop Pushing the Boundaries of Plain Weave.
Jane’s website Jane Stafford Textiles (JST) is well worth your visit just to check out the free searchable Knowledge Base that contains over 300 articles on all things weaving. I am not affiliated in anyway with Jane Stafford Textiles or the Online Guild, I just enjoy it and give my highest recommendation.
So, on to the project that initially started with Episode 2 of Season 2 of JST Online Guild.
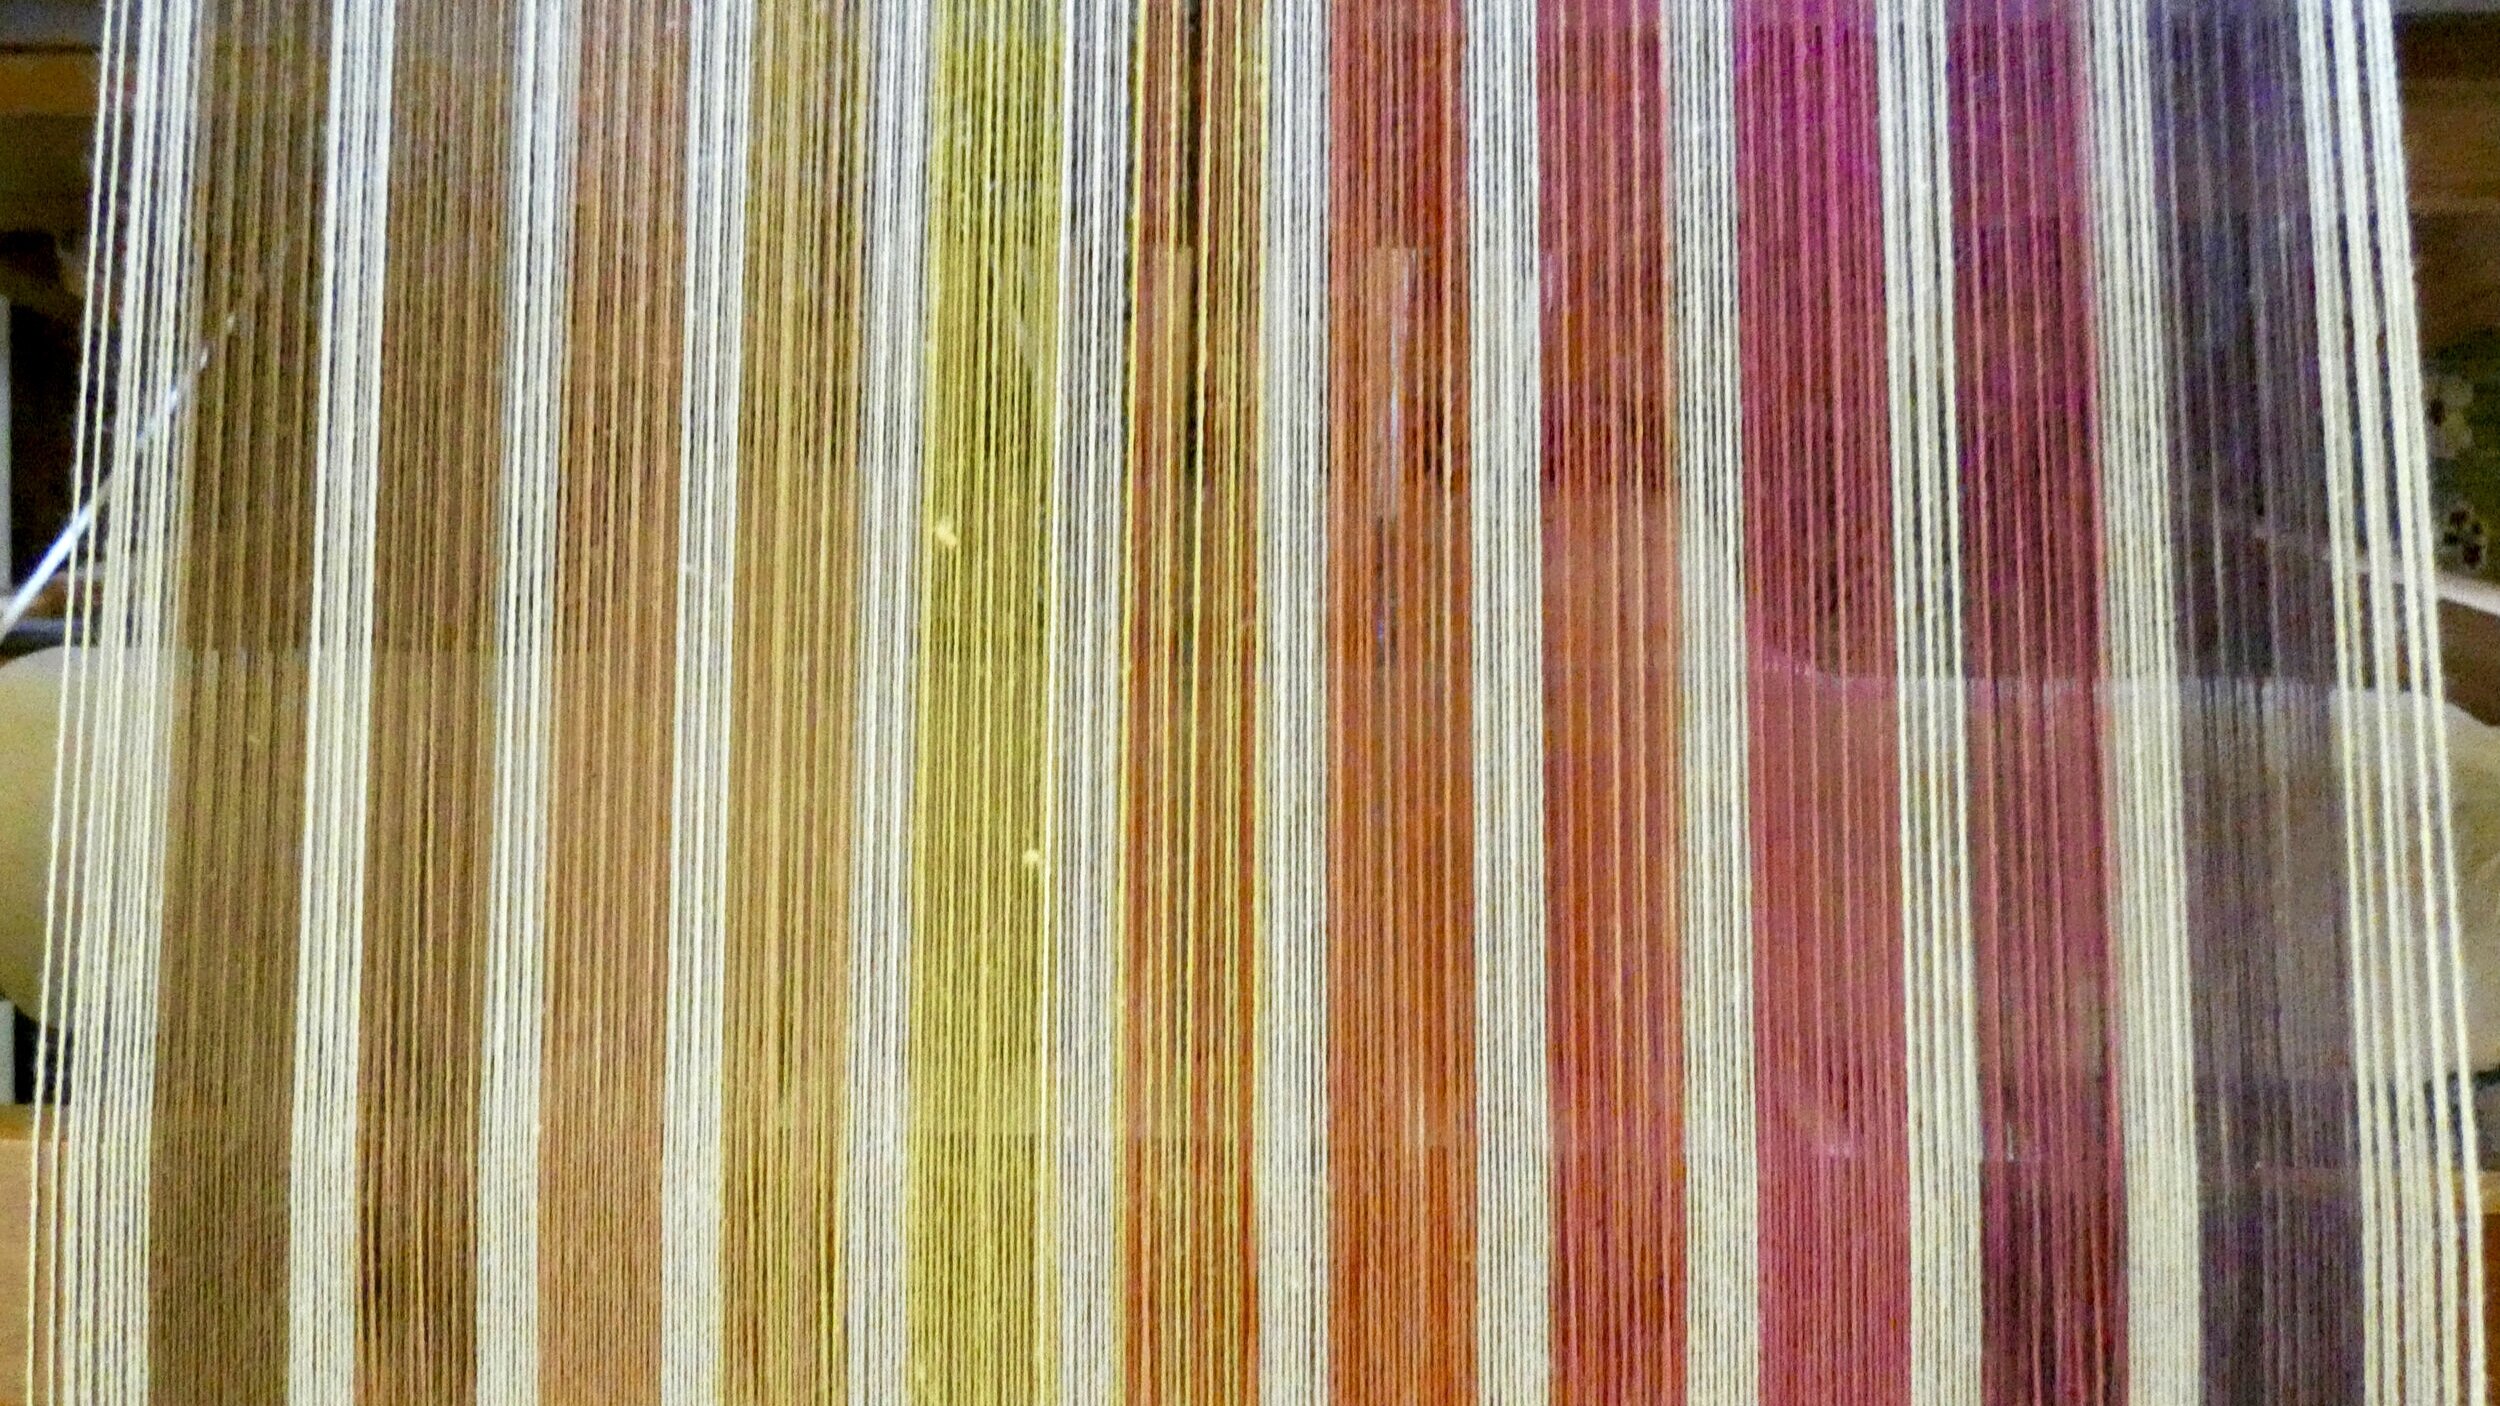
These are the six projects that I wove from a single warp. The magic in this warp is that all of the items are woven as plainweave, the variations are created by changing the weft color order and/or the weaving sett.
Jane’s sample incorporated an asymmetrical graphic and graduating colors from white, to two shades of grey, to black, and then adding red as the zinger (pop of color).
I first looked at colors in my favorite blues and greens. Although this combination appeals to me, it wasn’t the zing I was looking for in this project. I desired a warmer, brighter color palette.
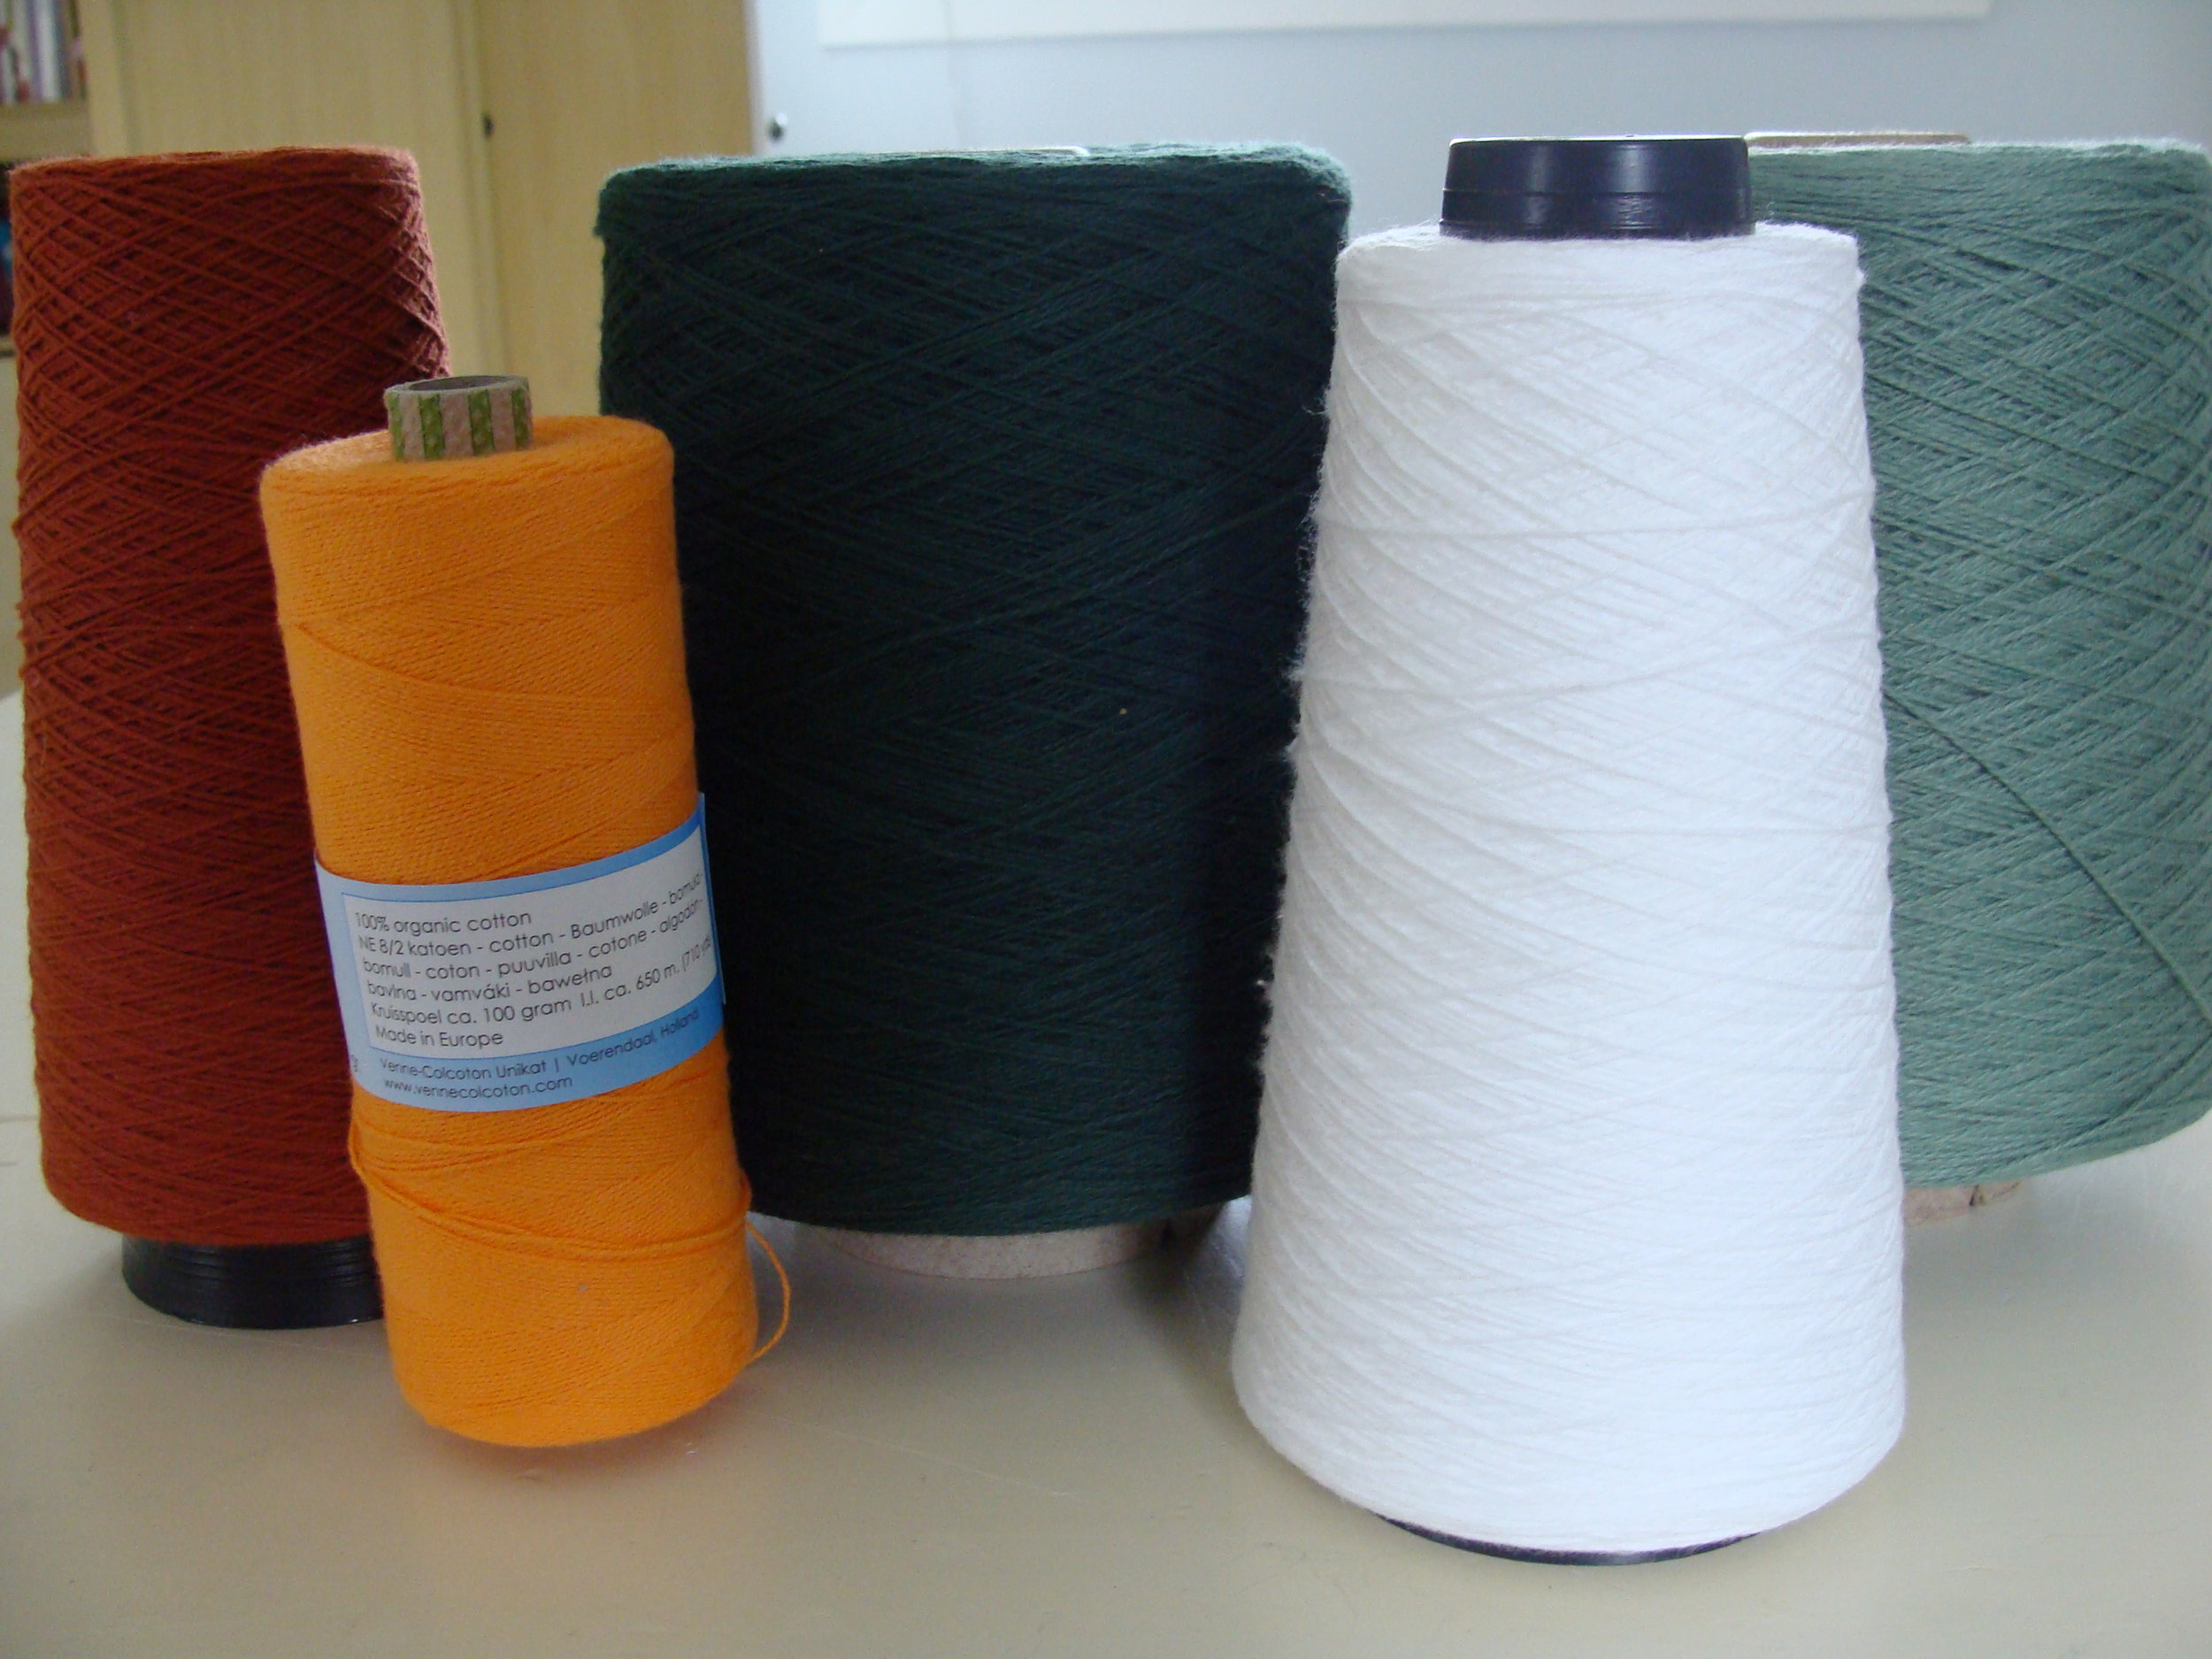
These are my final color choices - white, medium green, hunter green, burnt sienna, and for my zinger, orange sherbet. All are 8/2 cotton. Their aesthetic is summery and can easily transition into autumn.
I wound a 6 yard warp; the above photo shows 1/2 of the 280 threads on the warping board.
With my warp wound, I threaded the heddles and then sleyed at 18 ends per inch (epi) sleyed 1-2-1-2 in a 12-dent reed.
Weaving the towels (in photo - moving from top around clockwise)
Towel 1 - [4 picks burnt sienna, 4 picks white] repeat 9 times; 8 picks orange, 4 picks white. Then weave with burnt sienna for 11”. Mirror other end with reverse of initial sequence.
Towel 2 - Same weft sequence as the warp color sequence.
Towel 3 - 10 picks white, 10 picks medium green, 10 picks hunter green, 10 picks burnt sienna; repeat sequence entire length of towels.
Towel 4 - [3 picks hunter green, 1 pick white] repeat 8 times; then 3 picks orange. Continue this sequence for the length of the towel.
Finished towels: 13” x 21”
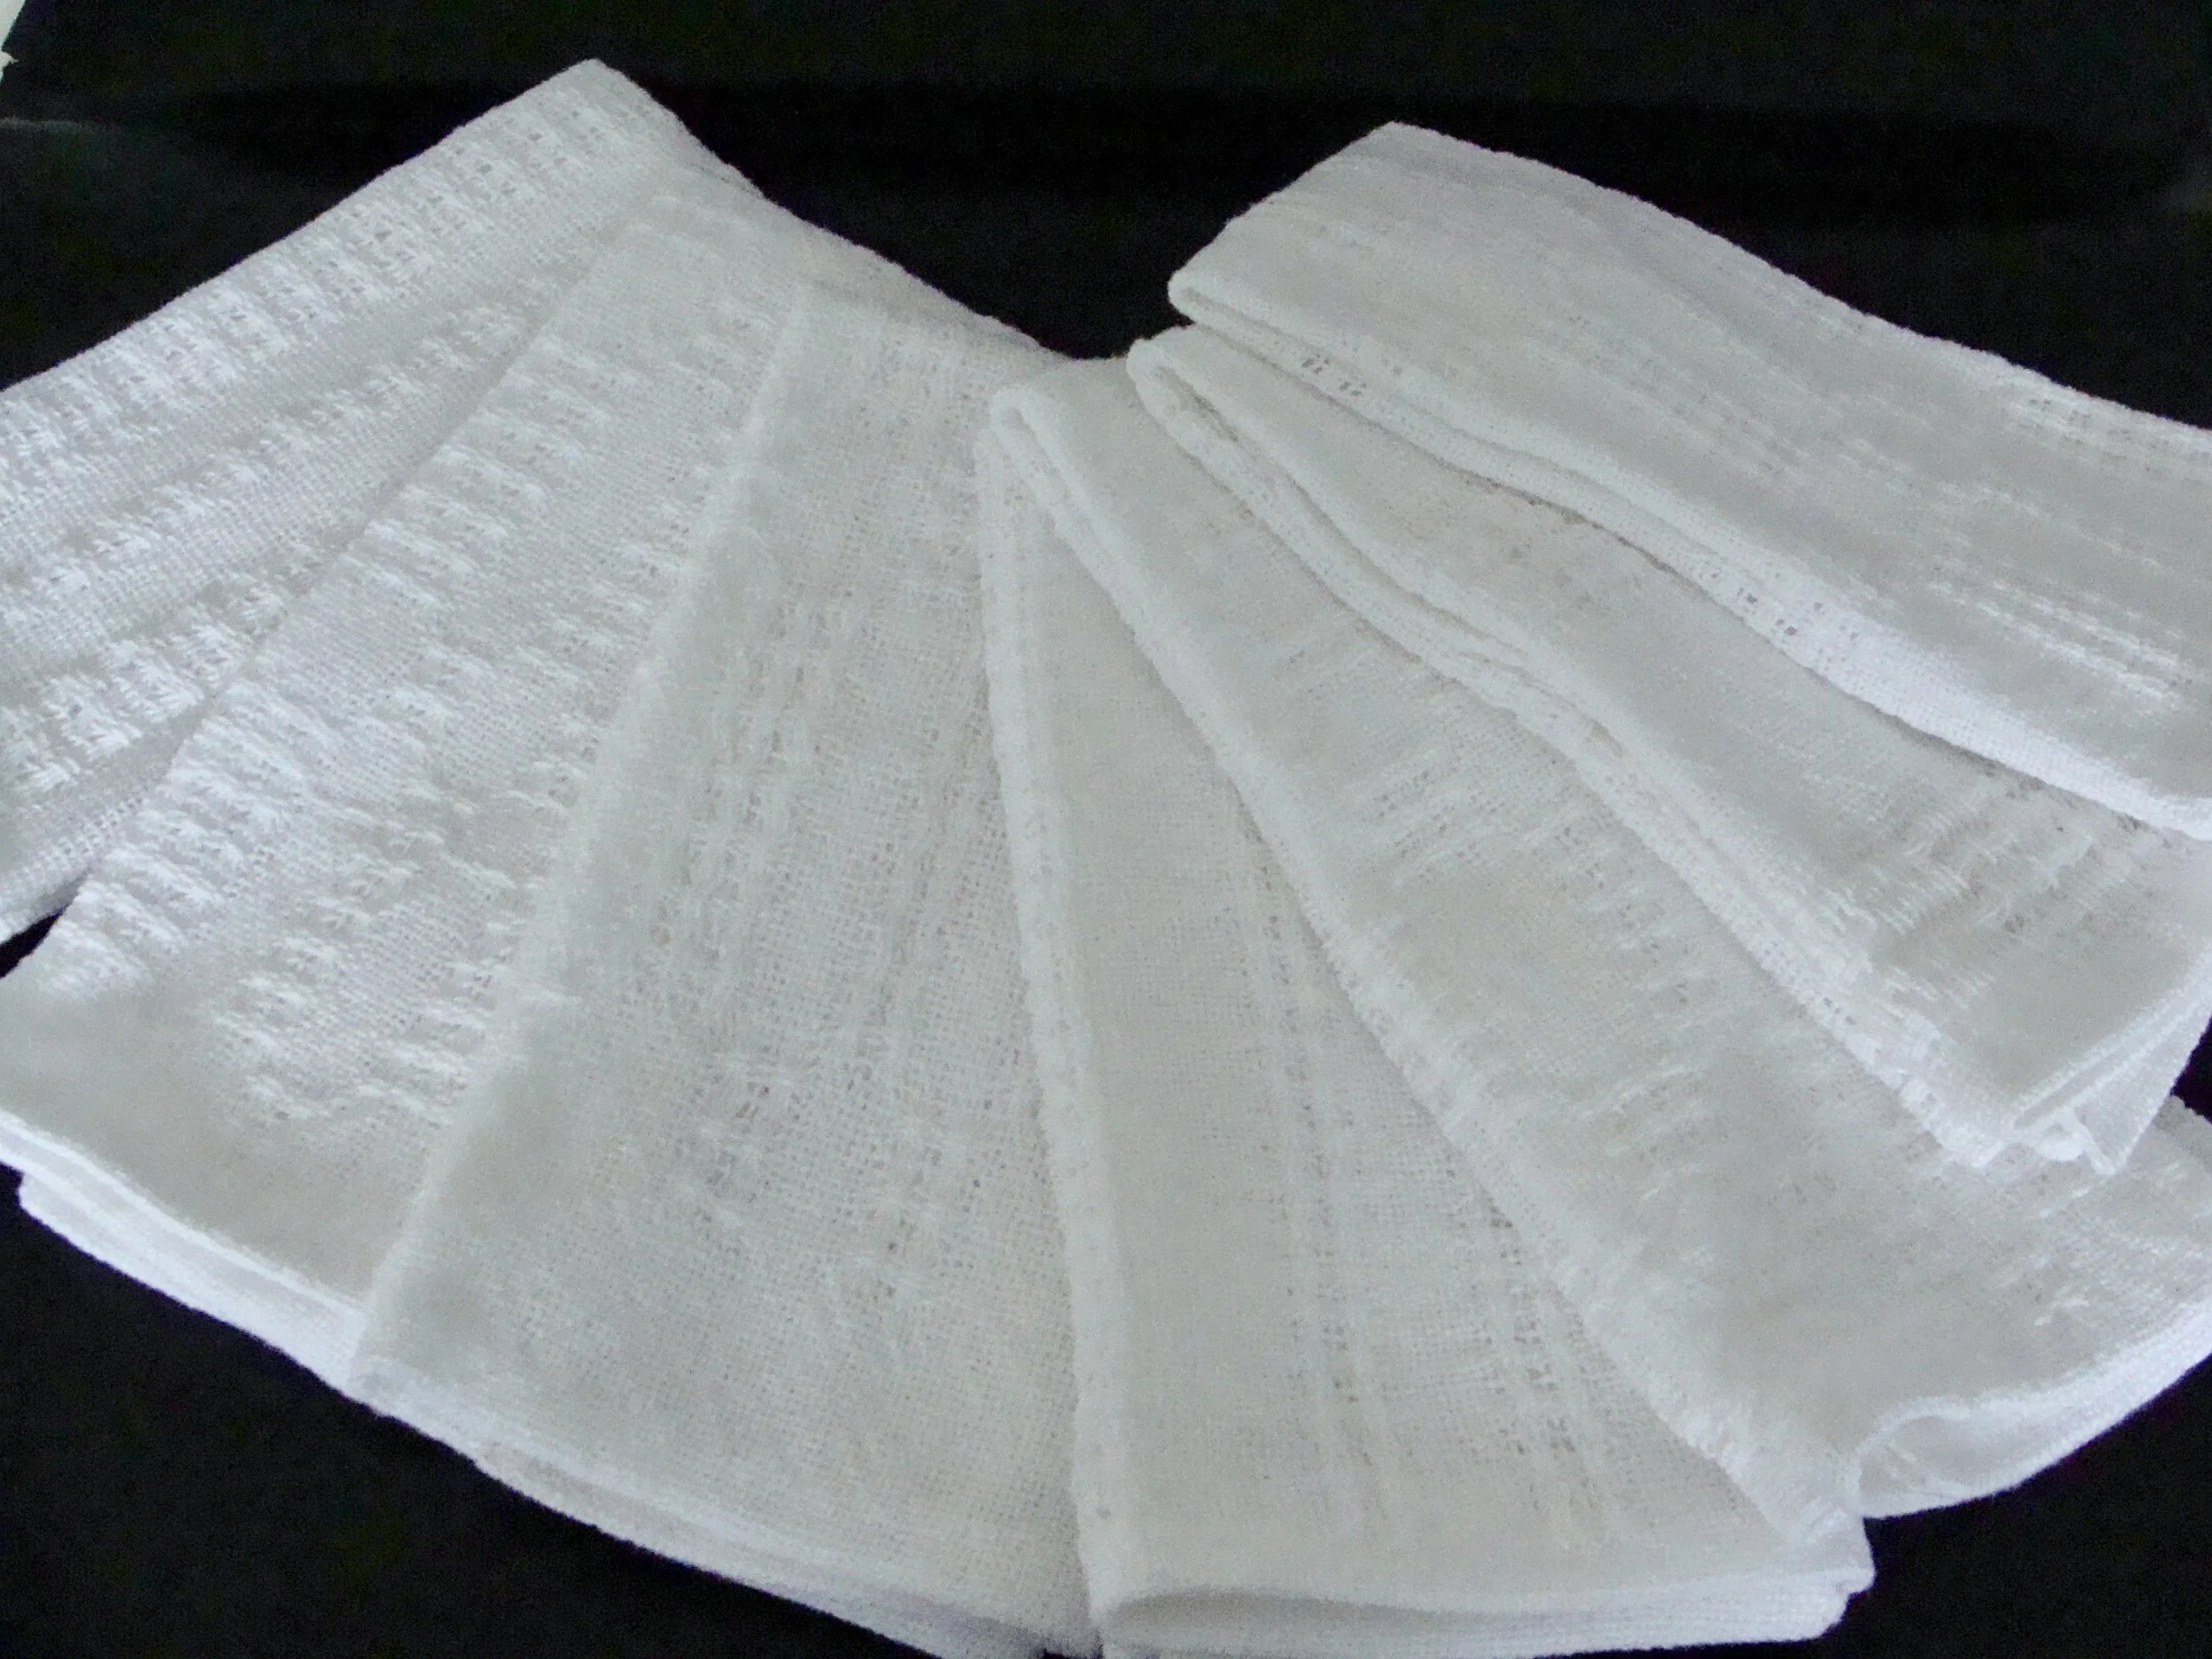
Next, I cut off the warp from the front beam, removed the warp threads from the reed (leaving them as is in the heddles), and resleyed the 12-dent reed with 1 end/dent thereby opening up the sett to 12 ends per inch (epi). Obviously this increased the width, so to balance I also increased the weaving length of the towel. This time I used a slightly heavier weft of white cotton boucle as well as some remnants of bright yellow and jade green 5/2 cotton from my stash.
Finished towel: 18” x 24”
After 5 towels, I still had a fair amount of warp remaining. Truth be told, I was anxious to move into JST Online Guild Season 3! Episode 1 is about ‘Denting', a plainweave weaving technique that produces a beautiful lacy, drapey fabric, in this case a perfect lightweight summer wrap.
Using the same warp, I again untied the ends from the front beam and reed, still leaving the heddles threaded. I removed from the warp 86 white threads, thus a total of 194 ends remained.
The structure of the project is set up in a 1/2” grid. Each selvedge ‘block’ had 13 ends and the other ‘blocks’ had 10 ends. I again used a 12-dent reed sleying 1-2-2-1-2-2 in 6 dents (20 epi) then skipped 6 dents. Selvedges were sleyed 1-2-2-1-2-2-1-2.
Using the warp color sequence, I wove 10 weft picks leaving 1/2” spacing between colors which amounted to 19” on either side. In the center of the wrap, I wove 24 picks of white with 1/2” spacing between for a total of 20”. The finished wrap is 15" x 57" plus an additional 3 1/2" of twisted fringe on either side.
Above is the woven cloth off the loom prior to wet finishing and below is the wrap after wet finishing. Comparing the two magnified areas you will see that after finishing, the woven areas are “tightened’ which creates a more structurally sound fabric.
To finish, I handwashed with warm-hot water and Soak no rinse wash , hung to dry, and then gently steam pressed.
And that’s the magic in a warp. Starting with this utilitarian towel . . . .
. . . . . . . and traveling right on through to the finishing line with this lovely wrap!
Now, see if you can follow the warp through all six projects pictured above.
