Natural Dye Project-The Towels
This summer, I started a Natural Dye series. The initial July 6 post, Planning and Fiber Preparation, was followed by five posts detailing my five days of actual dyeing. It ended with the Finale post on August 2. In September, I gave you a sneak peek of the dyed cotton on the Loom. Today’s post brings you to the completion of the Natural Dye Project.
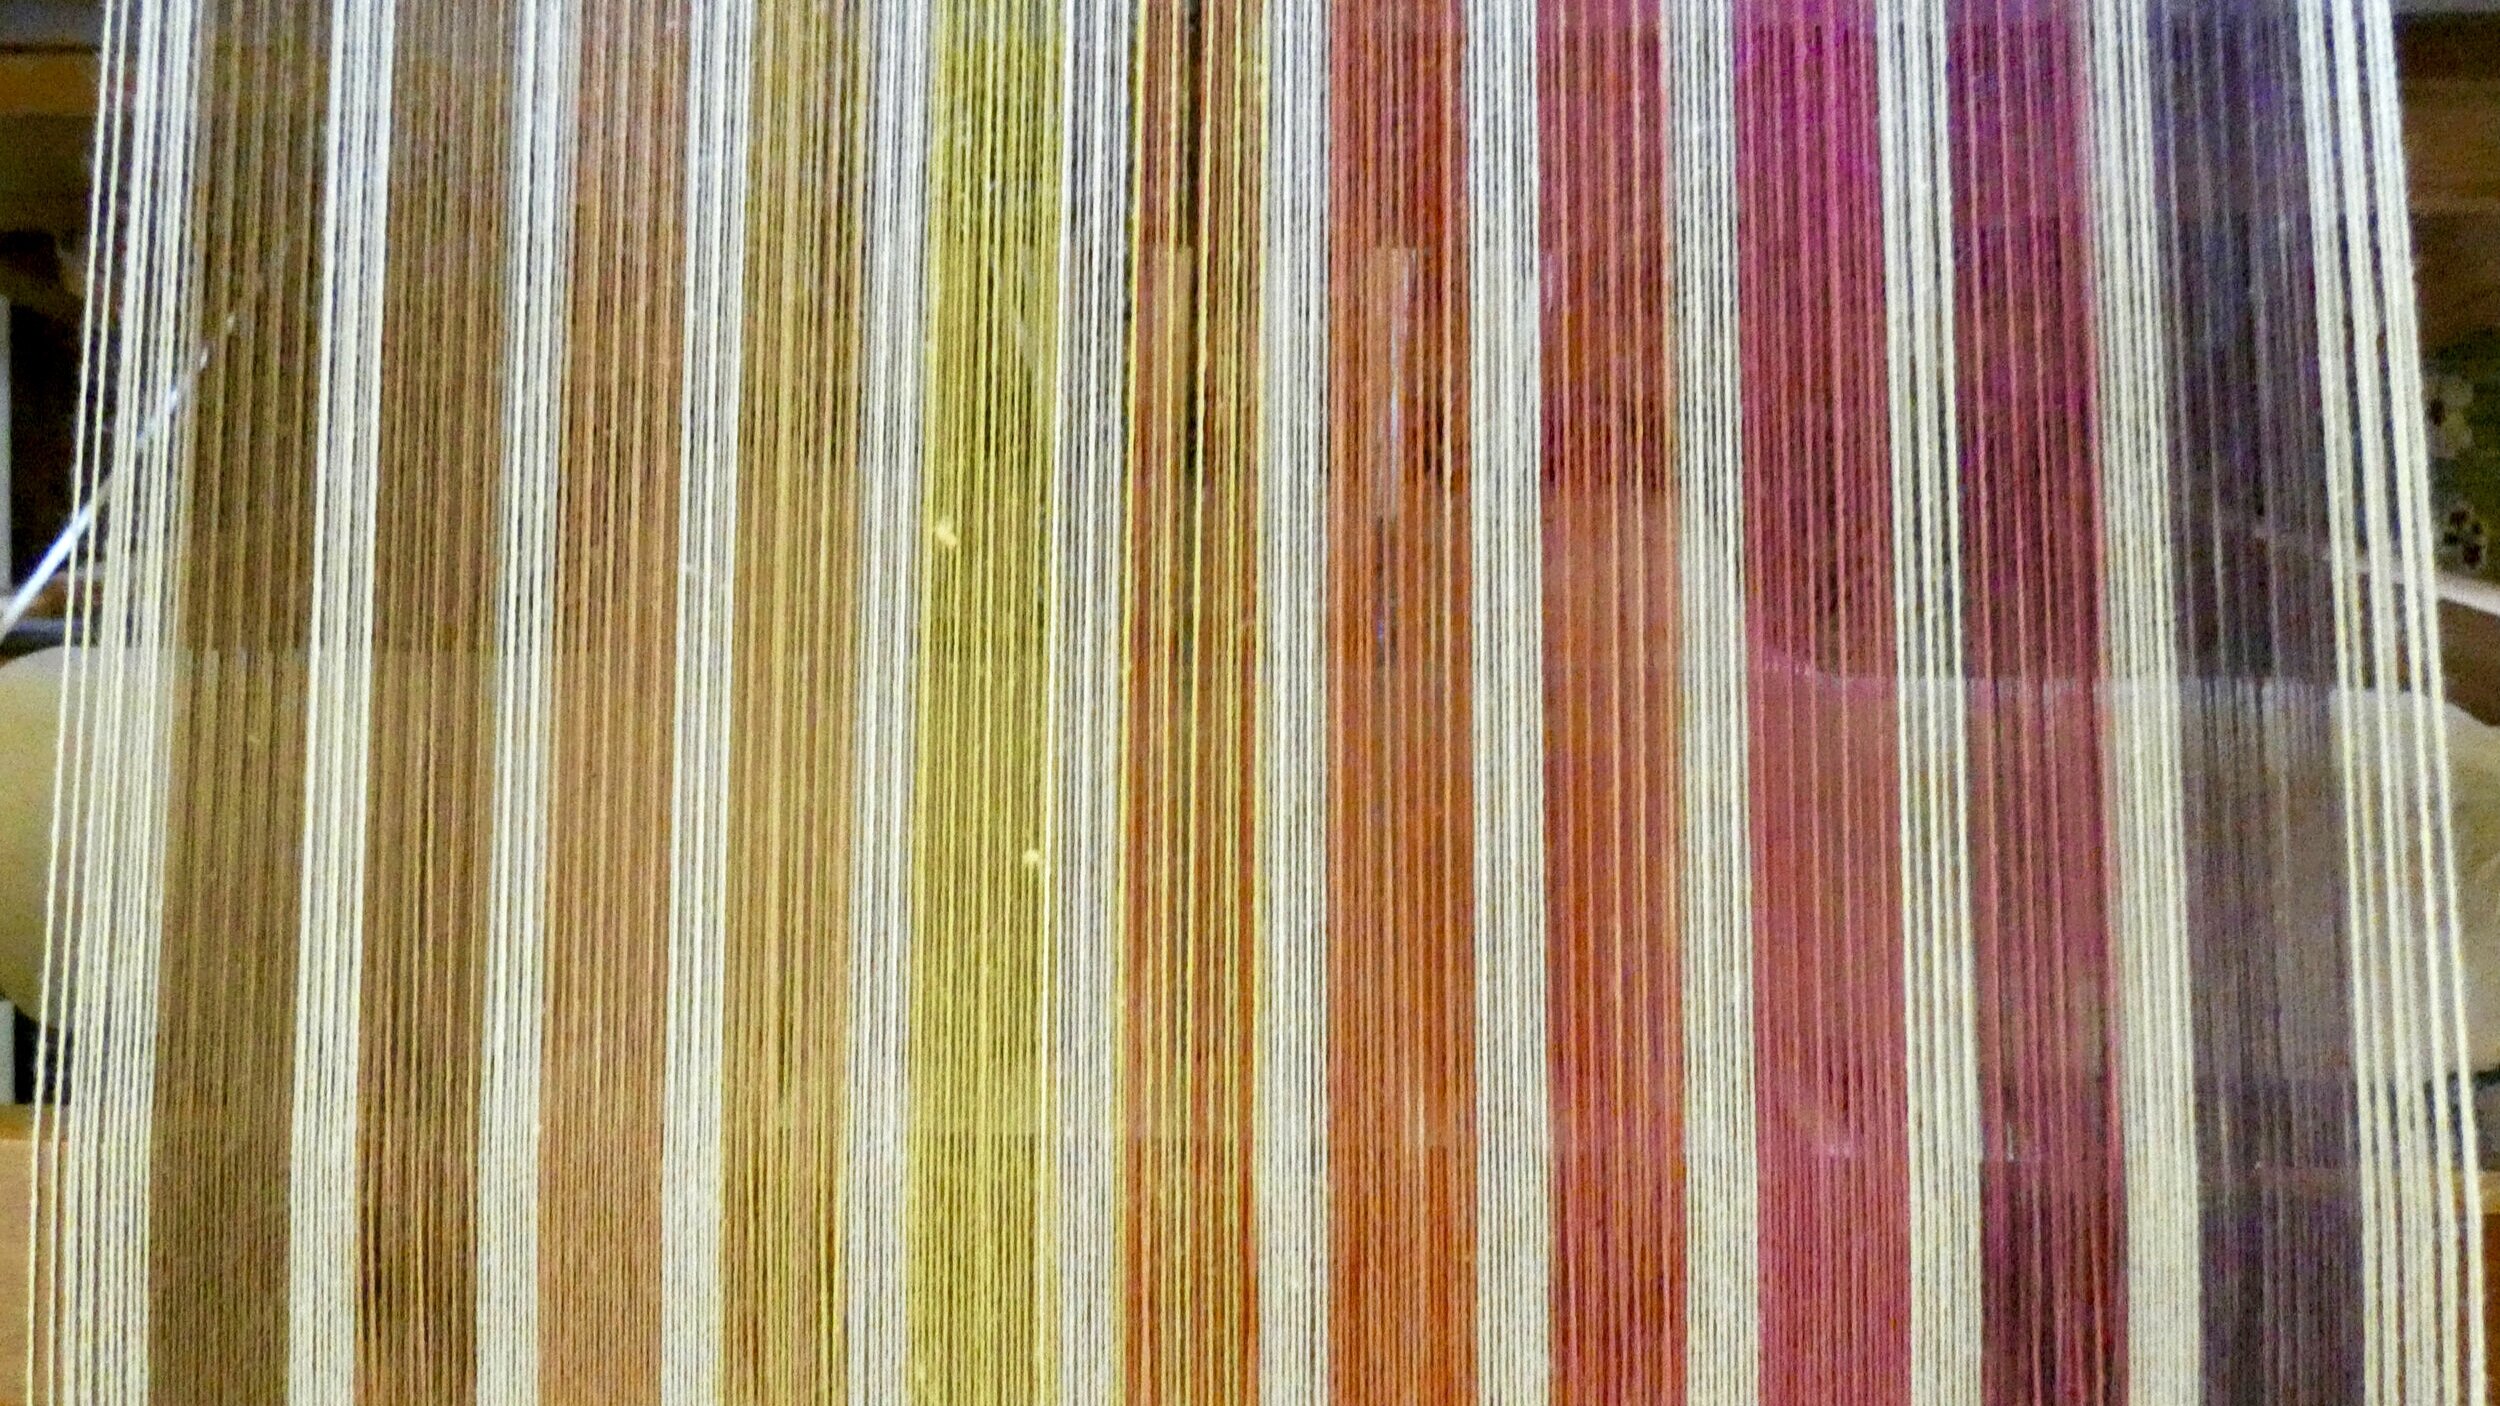
The six naturally dyed colors are (L to R): black walnut, quebracho, weld, madder, cochineal, and logwood.
I’m really pleased with the finished towels!
In the Planning and Fiber Preparation post, I planned to weave a plain weave color gamp inspired by Season 2, Episode 8 of the Jane Stafford Online Weaving Guild. I talked about color gamps in that post, but as a refresher, a color gamp has color stripes in the warp that are crossed in the same color order by weft stripes.
This is the threading for the warp:
This first towel was woven using the same color order as the warp. The natural white “stripes” are broader in the weft than in the warp to achieve the length I desired. I also wove approximately 1 1/2” of natural on either end of each towel as a border and the turned hem. Each towel is a little different in this regard.
Here is the weaving draft for towel 1.
(Note-On these drafts, I may have deviated a bit when I was weaving at the loom as the “fancy” struck me!)
I kept the same color order on the next towel but wove in blocks of 2 picks of one color, alternating with 2 picks of the next color. I think this may be my favorite.
On the right is the draft for towel 2.
Towel 3 alternated larger and smaller blocks of solid color wefts separated by natural white. Again, the same color order was maintained.
Draft for towel 3.
And finally, this fingertip towel. While the other finished towels were roughly 20-22” in length, this little guy made it to 10 3/4” after hemming (more on that below in observations). I ventured the most off this draft as the end of the warp loomed near (pun intended!)
I had about 1 1/3” draw-in during weaving (14 1/3” width in reed to approximately 13” off-loom).
I washed the length of fabric in my washing machine with cold water and a little Synthrapol and then dried it in the dryer on high heat. I noticed no bleeding of the naturally dyed colors. There was little to no shrinkage in width and 10 1/2” of shrinkage in length.
I used my typical method for a hemmed edge. Between each towel, I threw three picks of fusible thread, a contrasting color thread (for the cut line), and 3 more picks of fusible thread. The fusible thread allows for a neat edge without serging or zigzagging.
Observations
My initial plan was for four placemats sized approximately 14” by 19” (hemmed). I achieved 3 tea towels (roughly 13” wide by 20-22” in length) and a fingertip towel. Why?
I underestimated draw-in.
I was more concerned about the patterns rather than the length and happily wove the drafts without measuring.
This is where the ardent pro-samplers chime in about the merits of sampling. And although they are technically correct, my response is I DID sample - my whole project became a sample. And I ended up with 4 towels that I love!
What would I do the next time?
Now that I know my draw-in, shrinkage, and picks per inch, I can adjust the starting width and plan the pattern to meet the desired finished project specs.
The sett of 24 ends per inch (epi) is perfect for towels. For placemats, I would increase the sett to 26 or even 28 epi for a firmer fabric.
Initially, I thought that the color palette would be more autumnal with the browns of walnut and quebracho, the red-orange of madder, and the weld yellow. The cochineal dyed pink rather than a deep red and thus swayed the palette towards beautiful Spring colors. I’m happy with that!
My calculations for yarn usage were very accurate. I have about 1/2 a ball (225 yards) of each dyed color left. Maybe for those placemats?!?
This was a fun, experimental learning project. I hope you enjoyed following along with the journey.
